Browse all guides
Connect a custom domain: DNS setup
How to point your own domain at your Tokoo store by adding a DNS record with your domain provider.
Connecting your own domain swaps your store's tokoo.my link for something like shop.yourdomain.com. Your admin dashboard keeps using the original address — only the storefront moves. Setup itself takes a few minutes; DNS propagation afterwards can take longer and isn't something we control.
- 1
Save your domain in Settings
Open your store's admin → Settings → Custom domain, enter the domain you want to use (for example shop.example.com), and click Save.

- 2
Open your domain's DNS settings
Log in wherever you manage that domain — Cloudflare, GoDaddy, Namecheap, or similar — and find its DNS page (often labelled “DNS”, “DNS Management”, or “Advanced DNS”).
- 3
Add a CNAME record
Create a new DNS record with the values below.
CNAME record
- Type
- CNAME
- Host / Name
- the subdomain you entered (e.g. shop) — some providers want just that, others want the full domain
- Value / Points to
- tokoo.my
On Cloudflare, set the record's proxy status to “DNS only” (grey cloud). The orange “Proxied” option routes the record through Cloudflare's own address, which we can't verify against.
Connecting a bare domain like example.com instead of a subdomain? Most DNS providers reject a CNAME at the root. Use a subdomain (shop.example.com or www.example.com), or check whether your provider supports “CNAME flattening”, “ALIAS”, or “ANAME” records for the root.
- 1
Wait for DNS to propagate
Usually a few minutes, occasionally a few hours.
- 2
Verify in Settings
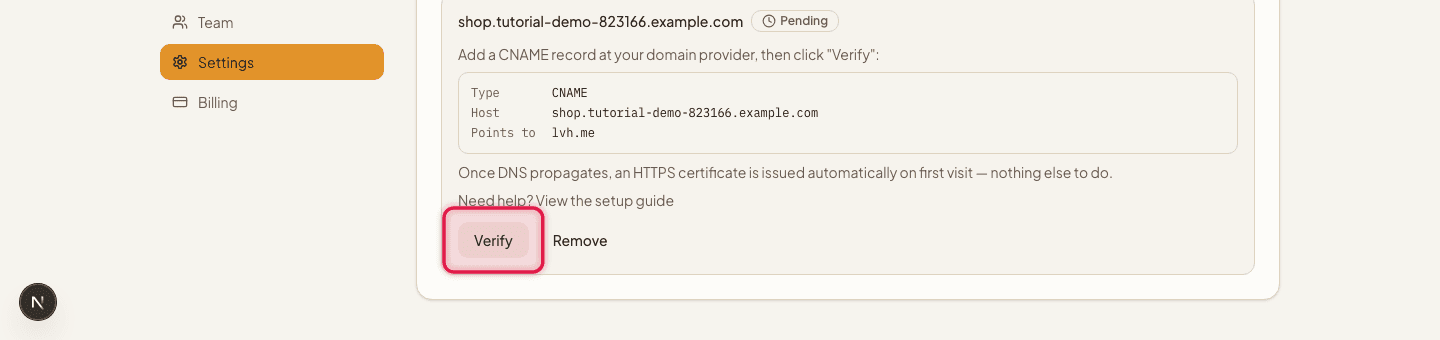
Back in Settings → Custom domain, click Verify. Once it succeeds, an HTTPS certificate is issued automatically on the first visit — nothing else to do.
Still not verifying after a few hours? Double check the record type is CNAME (not A), the host matches exactly what you saved in Settings, and — on Cloudflare — that the proxy is off.
Still stuck?
Contact us and we'll help you sort it out.